How to keep chicken tenders crispy is a question every home cook has faced. Whether you’re serving them fresh out of the fryer or reheating leftovers, maintaining that perfect crunch can be tricky. The secret lies in using the right techniques from preparation to storage.
Understanding the science of crispy coatings, maintaining proper oil temperature, and managing moisture are all essential for ensuring your tenders stay crunchy and delicious. This guide will walk you through expert tips and tricks to help you keep your chicken tenders crispy, whether they’re freshly cooked or stored for later enjoyment.
The Science Behind Crunchy Chicken Tenders
Crispy chicken tenders rely on the interplay of proper coating, oil temperature, and moisture control. Here’s what matters:
- Coating Quality: The right coating—whether cornstarch, flour, or breadcrumbs—plays a significant role.
Learn more about choosing the right coating for crispy chicken for better results. - Oil Temperature: Maintaining the correct frying temperature (325°F to 350°F) ensures even cooking without soaking the tenders in oil.
- Moisture Management: Prevent excess moisture to avoid a soggy crust.
Why Do Chicken Tenders Lose Their Crunch?
One of the biggest frustrations when making chicken tenders is losing that perfect crunch after cooking. The main culprit? Moisture and steam. When hot tenders are placed directly on a plate or paper towel, steam gets trapped underneath, softening the crust.
Another common issue is storing tenders improperly. When refrigerated without proper airflow, condensation can build up inside the container, leading to a soggy coating. This can undo all the effort you put into getting that initial crisp.
Additionally, oil temperature plays a crucial role. Frying at too low of a temperature allows the chicken to absorb excess oil, making the coating heavy and greasy rather than light and crunchy. Knowing how to handle your chicken tenders after frying can make a big difference in keeping that irresistible texture.
For an in-depth look at how frying works, check out The Science of Frying.
Preparation Techniques for Better Crunch
The Importance of Patting Chicken Dry Before Cooking
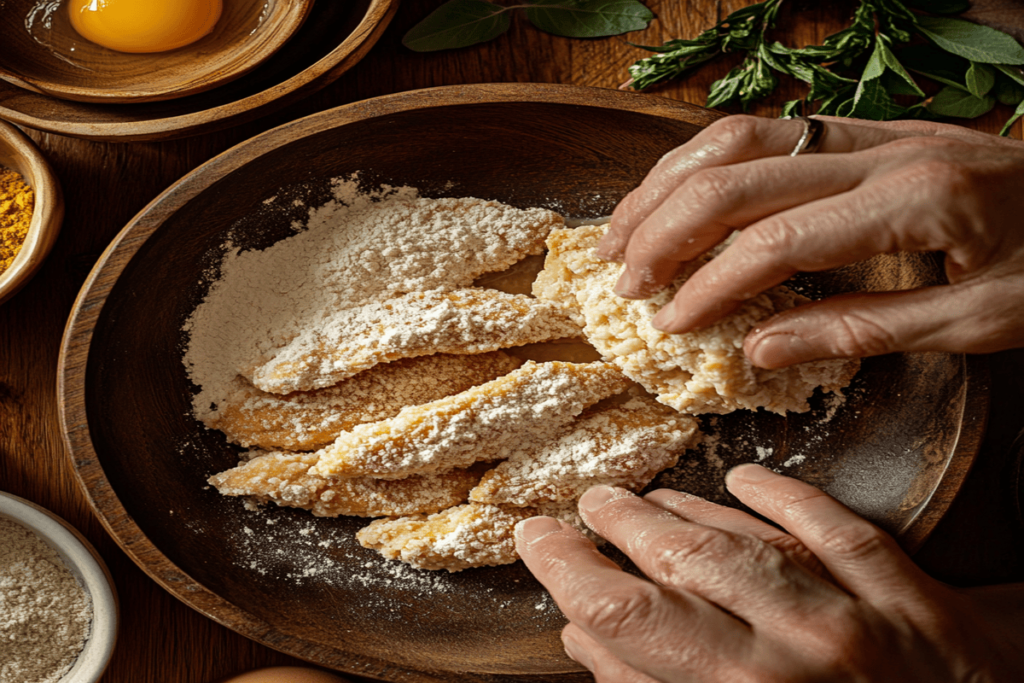
Before you even begin coating your chicken tenders, removing surface moisture is essential. Wet chicken can prevent the breading from sticking properly and will often result in a soggy, uneven crust.
Using paper towels, gently pat each tender dry before seasoning or breading. This helps the flour, cornstarch, or breadcrumbs adhere better, creating a stronger barrier against moisture.
For best results, let the chicken rest in the refrigerator for about 20 minutes after patting it dry. This allows the tenders to firm up and helps the coating stick better, resulting in a crispier, more even texture once cooked.
Ingredients Matter
- The Best Coatings:
- Cornstarch produces a light, crispy crust.
- Flour creates a heartier, thicker coating.
- Panko breadcrumbs offer a crunchier texture.
For detailed advice, refer to expert tips on coating options.
- Marination:
- Use buttermilk or a brine to tenderize the chicken and help the coating adhere.
- Add seasonings like garlic powder, paprika, or cayenne to boost flavor.
Seasoning for Maximum Flavor and Crunch
While achieving the perfect crunch is essential, flavor shouldn’t be overlooked. A well-seasoned coating adds depth and enhances the overall experience of biting into a crispy chicken tender.
Start by adding spices directly to your flour or breadcrumb mixture. Popular choices include salt, black pepper, garlic powder, paprika, cayenne pepper, and even dried herbs like thyme or oregano. This infuses flavor directly into the crispy crust.
For extra depth, season your marinade as well. If you’re using buttermilk, add spices to the mixture and let the chicken soak for at least an hour. This allows the flavor to penetrate the meat while also tenderizing it for a juicy bite.
The Perfect Breading Process
The Double-Breading Method for Extra Crunch
One of the best ways to ensure your chicken tenders stay extra crispy is by using the double-breading method. This technique involves coating the chicken twice to build a thicker, crunchier crust.
Start by dredging the chicken in seasoned flour or cornstarch. Then, dip the tenders into a beaten egg mixture to help the coating stick. Finally, coat the tenders in breadcrumbs, panko, or another layer of flour.
For maximum crunch, repeat the process by dipping the chicken back into the egg and re-coating it with breadcrumbs or flour. This double layer locks in moisture and creates a thick, golden crust that holds up better during storage and reheating.
Proper breading ensures maximum crunch. Here’s how:
- Dry the Chicken: Pat tenders dry to remove excess moisture.
- Follow the Three-Step Breading Method:
- Dredge in seasoned flour.
- Dip into beaten eggs.
- Coat with breadcrumbs or panko.
- Double Coat for Extra Crunch: Repeat the process to create a thicker, crispier crust.
For a comprehensive guide, explore step-by-step breading techniques for chicken tenders.
Cooking Methods to Retain Crispiness
How Oil Temperature Affects Crispiness
Maintaining the right oil temperature is key to ensuring your chicken tenders stay crispy. The ideal frying temperature is between 325°F and 350°F (163°C–177°C).
If the oil is too cool, the chicken absorbs more oil during cooking, leading to a greasy, soggy crust. On the other hand, if the oil is too hot, the coating will burn before the chicken is fully cooked inside.
Using a kitchen thermometer is the best way to monitor oil temperature. If you don’t have one, test the oil by dropping in a small piece of bread—if it sizzles immediately and browns within 60 seconds, your oil is ready for frying.
Deep Frying Tips
- Use a thermometer to maintain an oil temperature of 325°F–350°F.
- Fry in small batches to prevent overcrowding, which lowers oil temperature.
Oven-Baking Tips
- Toast breadcrumbs before coating to enhance flavor and crunch.
- Place tenders on a wire rack over a baking sheet for better air circulation.
Why Air Circulation Is Crucial for Crispy Results
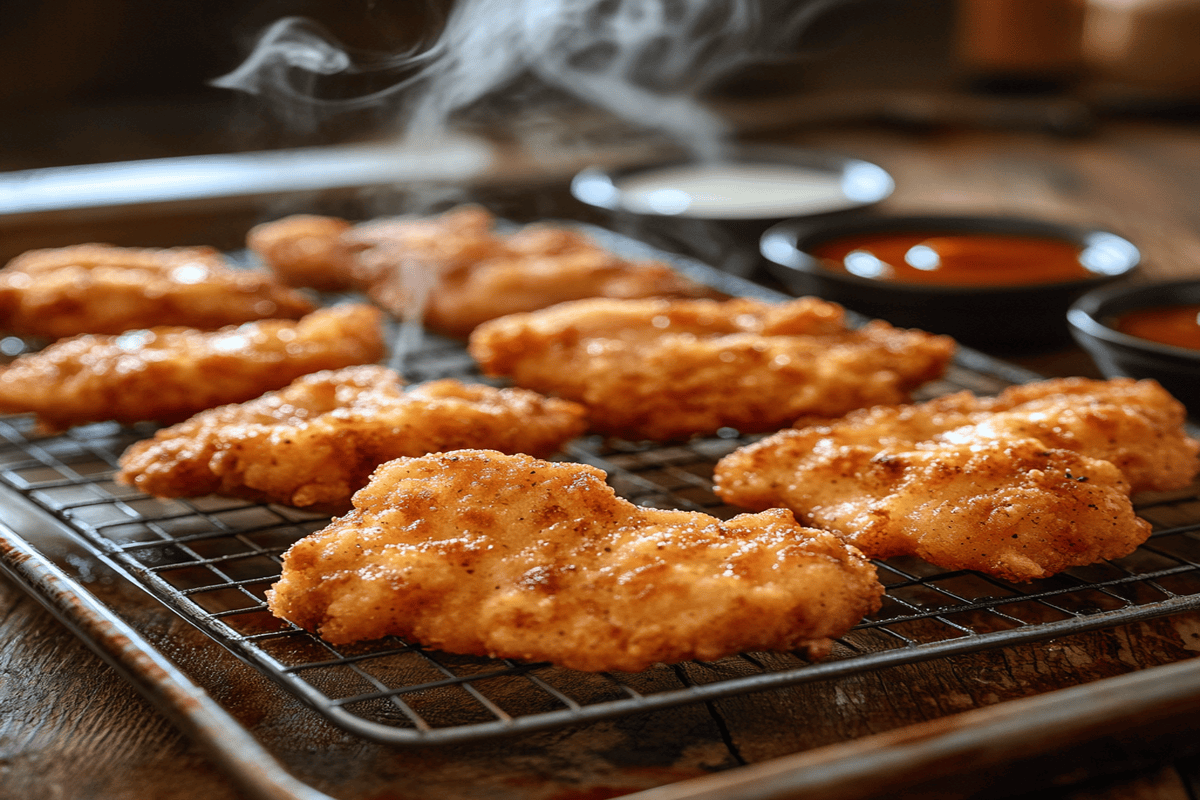
Allowing air to circulate around your tenders is essential for maintaining crunchiness. After frying, avoid placing chicken tenders directly on paper towels, as this traps steam and softens the coating.
Instead, place the tenders on a wire rack over a baking sheet. This setup allows hot air to circulate around the chicken, preventing sogginess and helping the tenders stay crispy for longer.
If you’re serving the tenders later, keep them warm in an oven preheated to 200°F (93°C) while you finish frying the rest. This gentle heat will keep the exterior crisp without overcooking the chicken inside.
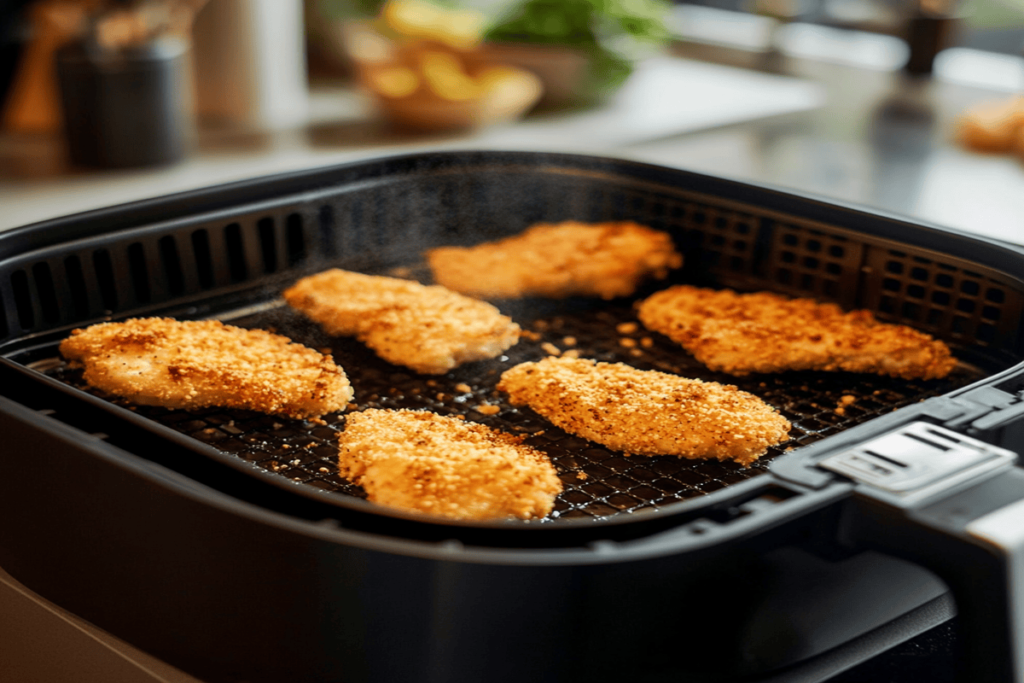
Air Frying Tips
- Lightly spray tenders with oil before cooking to encourage browning.
- Air fry at 375°F for 12–15 minutes, shaking the basket halfway through.
For more techniques, check out air fryer tips for crispy foods.
Keeping Chicken Tenders Crispy After Cooking
How to Store Chicken Tenders Without Losing Crispiness
Storing chicken tenders correctly is key to preserving their crunchy texture. Always allow tenders to cool completely on a wire rack before storing to prevent condensation buildup.
When placing the tenders in the refrigerator, use an airtight container lined with paper towels. The paper towels absorb any excess moisture, keeping the coating crisp. Tenders stored this way can stay crunchy for up to 3 days.
If you want to freeze them, place the tenders on a baking sheet and freeze until solid. Then, transfer them to a freezer-safe bag. This method prevents the tenders from sticking together and preserves their crispiness when reheated.
Once cooked, proper handling ensures that chicken tenders remain crunchy:
- Cooling: Place tenders on a wire rack to prevent steam from softening the crust.
- Warming: Keep tenders warm in a 200°F oven if serving later.
For more storage tips, visit how to maintain fried food crispiness.
Storing and Reheating Chicken Tenders
Best Reheating Methods to Keep Tenders Crispy
Reheating chicken tenders the right way can make all the difference in maintaining their crunch. The microwave should be your last resort, as it often leads to soggy results.
Instead, reheat tenders in an oven set to 375°F (190°C) for about 10–15 minutes. Place them on a wire rack to allow hot air to circulate evenly around the chicken, reviving the crispy coating.
Another excellent option is using an air fryer. Set the air fryer to 350°F (175°C) and cook for 5–7 minutes. This method crisps up the exterior beautifully while keeping the inside moist and tender.
Refrigeration Tips
- Use an airtight container lined with paper towels to absorb moisture.
- Consume refrigerated tenders within 2–3 days for the best texture.
Freezing Techniques
- Flash-freeze tenders on a baking sheet before transferring to a freezer-safe bag.
- Reheat frozen tenders in an air fryer or oven for a crispier texture.
FAQs: Common Questions About Crispy Chicken Tenders
Why Do My Tenders Lose Their Crunch?
Steam is the main culprit. Cool tenders on a wire rack immediately after cooking to prevent sogginess.
Can I Reheat Chicken Tenders Without Losing Crispiness?
Yes! Reheat them in an air fryer at 350°F or in an oven at 375°F for a crisp finish.
What’s the Best Oil for Frying Chicken?
Neutral oils like canola, vegetable, or peanut oil are ideal due to their high smoke points.
Related Recipes and Tips
- Discover useful tricks for frying chicken to improve your technique.
- Pair your tenders with Cheesy Garlic Butter Linguine for a complete meal.
Conclusion
Maintaining the crunch in chicken tenders requires a combination of proper preparation, cooking, and storage techniques. By choosing the right ingredients, following a solid breading process, and storing them correctly, you can enjoy perfectly crispy chicken tenders every time. Whether you fry, bake, or air fry, these tips will help you achieve mouthwatering results.