Chocolate Brownies: 7 Secrets to the Fudgiest Batch Ever.

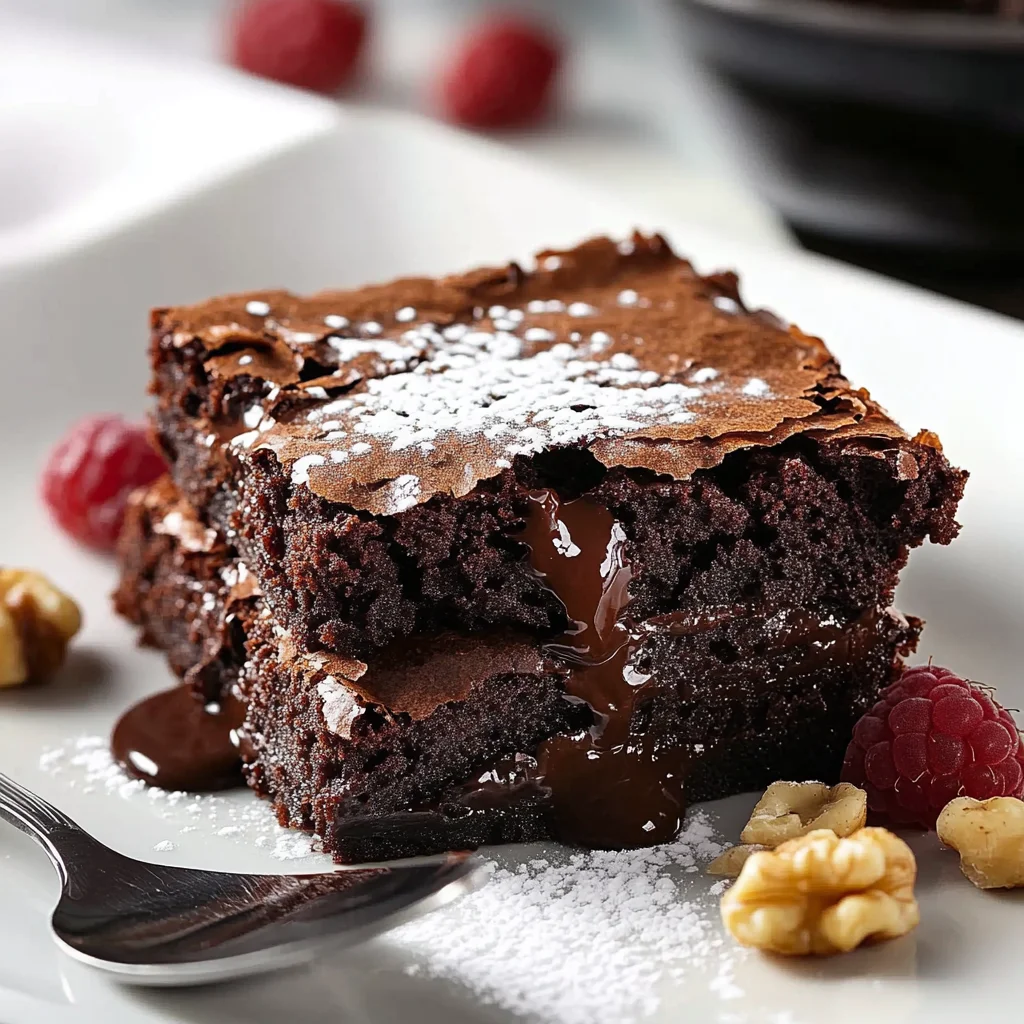
There’s a reason chocolate brownies are the ultimate crowd-pleaser: they’re unapologetically indulgent, impossibly easy to make, and guaranteed to turn even the gloomiest day around. Picture this: a tray of warm, fudgy brownies fresh from the oven, their glossy, crackled tops hiding a molten center that oozes with dark chocolate decadence. These aren’t just desserts—they’re edible therapy.
Table of Contents
Fun fact: Brownies were born out of a happy kitchen accident in the 1800s when a chef forgot to add baking powder to a chocolate cake. The result? A dense, chewy treat that became an instant classic. Today, chocolate brownies reign supreme as the ultimate comfort food. Unlike our beloved Triple-Layer Chocolate Cake (which demands patience and precision), this recipe is gloriously fuss-free. One bowl, 10 minutes of prep, and 30 minutes in the oven—that’s all it takes to create a dessert that’ll make you feel like a pastry pro. Whether you’re baking for a birthday party, a potluck, or just because it’s Tuesday, these brownies promise to deliver pure joy. Ready to bake magic? Let’s get started!
What is Chocolate Brownies?
Why “brownies”? The name’s origin is as delightfully mysterious as their fudgy texture. Some say it’s derived from the mythical “brown fairies” that guarded cocoa beans (okay, we made that up). Others claim it’s because of their rich, brown hue. Whatever the story, one thing’s certain: Chocolate brownies are the ultimate shape-shifter. Are they cake? Are they cookies? They’re both—and neither. They’re the dessert equivalent of a cozy blanket: soft, comforting, and impossible to resist.
Ever wondered why people fight over corner pieces? It’s all about that caramelized edge-to-center ratio. And let’s not forget the age-old adage: “The way to a person’s heart is through their stomach.” Well, chocolate brownies are the Trojan horse of love. Bake a batch for your crush, your boss, or your grumpy neighbor—watch defenses crumble faster than a brownie’s crust. Ready to become a kitchen legend? Preheat that oven!
Why You’ll Love This Chocolate Brownies Recipe
- Fudgy, Not Cakey: These brownies are the Goldilocks of desserts—just right. They’re dense enough to satisfy a chocolate craving but soft enough to melt on your tongue. Unlike dry, crumbly versions (we’ve all been there), these stay moist for days.
- Cheaper Than Therapy: Skip the 8bakeryslice!Homemadechocolatebrowniescostlessthan8bakeryslice!Homemadechocolatebrowniescostlessthan5 to make. Plus, you can customize them with pantry staples (think walnuts, caramel swirls, or leftover Halloween candy).
- Flavor Explosion: We use two types of chocolate (melted bars + cocoa powder) for a deep, complex flavor. Compare that to our Classic Chocolate Chip Cookies—delicious, but not quite as luxe.
- Kid-Approved, Adult-Adored: These brownies bridge generations. Serve them at a toddler’s birthday party or a wine-and-dessert night—they’ll disappear either way.
How to Make Chocolate Brownies

Quick Overview
- Active Time: 10 minutes (seriously, no mixer needed!).
- Total Time: 40 minutes (including baking and cooling).
- Skill Level: Beginner-friendly. If you can stir batter, you’ve got this.
- Signature Move: Undermixing the batter for maximum fudginess.
What to Serve With Chocolate Brownies
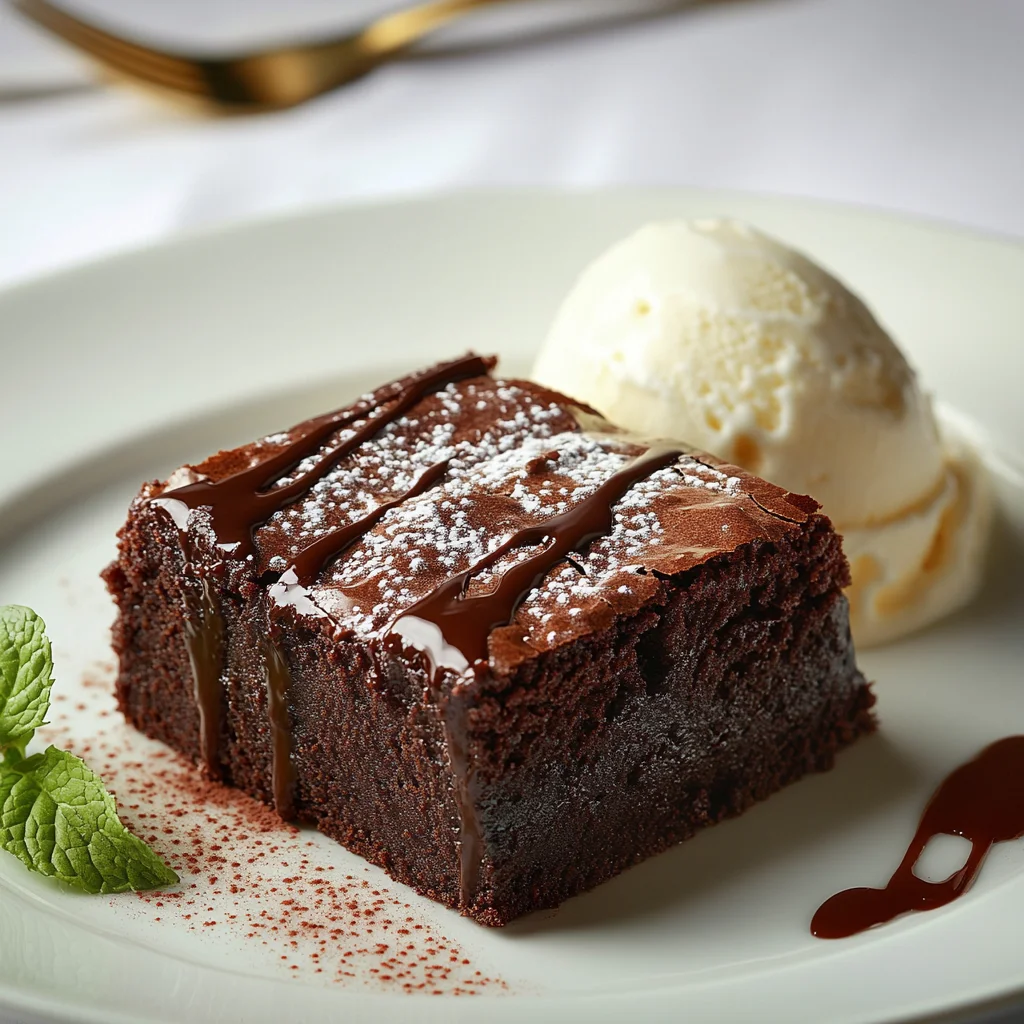
- À La Mode: A scoop of vanilla ice cream turns brownies into a sundae.
- Coffee Pairing: Dunk bites into a shot of espresso for a mocha moment.
- Fancy Upgrade: Drizzle with salted caramel and crushed hazelnuts.
- Breakfast?: Crumble over Greek yogurt with berries (we won’t judge).
Top Tips for Perfecting Chocolate Brownies
- Metal Pans Only: Glass or ceramic retains heat, leading to overbaked edges.
- Undermix, Always: Stop folding when flour streaks disappear. Overmixing = gluten development = cakey texture.
- Toothpick Trick: Insert a toothpick at the 28-minute mark. If it comes out with wet crumbs (not batter), they’re done.
- Freeze for Gooeyness: For extra fudginess, freeze cooled brownies for 1 hour before slicing.
- Salt Sprinkle: Add flaky sea salt post-bake for a sweet-salty contrast.
Storing and Reheating Tips
- Room Temperature: Store in an airtight container for 3–4 days. Place parchment between layers to prevent sticking.
- Freezing: Wrap individual slices in foil, then freeze in a ziplock bag for 3 months. Thaw overnight or microwave for 15 seconds.
- Revive Stale Brownies: Sprinkle with water, cover with foil, and warm at 300°F for 5 minutes.
Other Desserts
Craving something sweet? Try Lemon Donuts—light, airy, and bursting with zesty flavor, baked to perfection with a sweet-tart glaze. Need a quick treat? Cake Mix Cookies are soft, chewy, and ready in minutes—just mix, bake, and enjoy! For a showstopping dessert, indulge in rich, creamy New York Cheesecake with its buttery graham cracker crust. Whether it’s citrusy, playful, or decadent, these treats are guaranteed to satisfy!
Frequently Asked Questions
Q: Can I use cocoa powder instead of melted chocolate?
A: For best results, use both! Cocoa adds depth, while melted chocolate ensures gooeyness.
Q: Why did my brownies sink in the middle?
A: Likely underbaked or overmixed. Stick to the toothpick test and fold gently.
Q: Can I make these gluten-free?
A: Swap all-purpose flour for 1:1 gluten-free flour (like Bob’s Red Mill).
Chocolate Brownies: 7 Secrets to the Fudgiest Batch Ever
Course: DessertsCuisine: AmericanDifficulty: Easy6
servings10
minutes30
minutes250
kcal40
minutesCraving decadent chocolate brownies? Melted butter, cocoa, and dark chocolate chunks create a fudgy, crackle-topped batch in 40 minutes. Undermix for gooey perfection—bake, cool, and devour!
Ingredients for Chocolate Brownies
1 cup unsalted butter (melted): The fat content ensures a rich, moist crumb.
2 cups granulated sugar: Balances bitterness from cocoa and chocolate.
4 large eggs: Binds the batter and adds structure.
1 tsp vanilla extract: Enhances depth of flavor (use real vanilla, not imitation!).
¾ cup Dutch-process cocoa powder: For intense chocolate flavor without acidit
1 cup all-purpose flour: Just enough to hold the brownies together.
½ tsp salt: Cuts sweetness and amplifies chocolate notes.
1 cup dark chocolate chunks (70% cocoa): Creates molten pockets of joy.
Step-by-Step Instructions
- Preheat oven to 325°F (163°C). Lower heat = fudgier texture.
Line an 8×8-inch metal pan with parchment paper (glass pans bake unevenly). - In a large bowl, whisk melted butter and sugar until glossy (1 minute).
Add eggs one at a time, whisking gently after each. Overbeating = cakey brownies!
Stir in vanilla. - Sift cocoa powder, flour, and salt directly into the wet mix.
Use a spatula to fold until just combined. Lumps are fine—overmixing = tough brownies! - Reserve ¼ cup chunks for topping. Gently stir the rest into the batter.
- Pour batter into the pan. Sprinkle reserved chocolate on top.
Bake 28–30 minutes. The edges should pull away slightly, but the center will look underdone. - Let brownies cool in the pan for 1 hour. They’ll firm up as they rest.
- Use a sharp knife dipped in hot water for clean cuts.
Nutrition Facts
- Calories: 250 kcal | Total Fat: 12 g | Saturated Fat: 7 g | Cholesterol: 55 mg | Sodium: 80 mg | Total Carbohydrates: 32 g | Dietary Fiber: 2 g | Sugars: 22 g | Protein: 3 g
Recipe Notes for Chocolate Brownies
1. Prep Work Tips
- Measure Ingredients in Advance: Have all ingredients measured and ready to go for a smooth baking process.
- Use Room Temperature Eggs: Cold eggs don’t mix well and can affect the texture of the batter. Let them sit at room temperature for about 30 minutes before using.
- Grease & Line the Pan: Butter the baking pan and line it with parchment paper for easy removal. This prevents the brownies from sticking and makes slicing cleaner.
2. Mixing & Batter Tips
- Melt Butter & Chocolate Properly: Use a microwave or a double boiler to melt them gently. Stir frequently to prevent burning.
- Do Not Overmix: Stir the batter just until combined. Overmixing develops gluten, making the brownies more cake-like instead of fudgy.
- Sift Dry Ingredients: This prevents lumps and ensures even mixing.
3. Baking Tips
- Use the Right Pan: A metal baking pan conducts heat evenly, while glass or ceramic can cause uneven baking.
- Lower Temperature for Fudgier Brownies: Baking at 325°F (163°C) instead of 350°F (177°C) results in a moist, fudgy texture.
- Toothpick Test: Insert a toothpick in the center at the 28-minute mark. If it comes out with a few moist crumbs (not wet batter), they’re done.
4. Customization Ideas
- Add Mix-ins: Stir in chopped nuts, caramel swirls, or white chocolate chips for extra texture and flavor.
- Espresso Powder Boost: Add ½ teaspoon of instant espresso powder to intensify the chocolate flavor.
- Salted Caramel Drizzle: Pour caramel over the top for a sweet-salty contrast.
- Peanut Butter Swirl: Swirl in peanut butter before baking for a nutty twist.
5. Storage & Reheating
- Room Temperature: Store in an airtight container for up to 4 days. Place parchment paper between layers to prevent sticking.
- Freezing: Wrap individual brownie slices in foil and store them in a ziplock bag for up to 3 months.
- Reheating: Microwave for 10-15 seconds for a warm, gooey texture.
6. Serving Suggestions
- Classic Pairing: Serve with a scoop of vanilla ice cream for an indulgent treat.
- Brownie Sundae: Top with whipped cream, chocolate sauce, and nuts for a restaurant-style dessert.
- Coffee Pairing: Enjoy with a cup of espresso or a mocha for a rich flavor combination.
7. Troubleshooting
- Brownies Are Too Dry: Overbaking or using too much flour can cause dryness. Reduce baking time or measure flour correctly.
- Brownies Sink in the Middle: This can happen due to underbaking or too much sugar. Ensure you follow the baking time and ingredient proportions.
- Edges Overbaked, Center Underdone: A glass or ceramic pan retains too much heat, leading to uneven baking. Use a metal pan for best results.
8. Meal Prep Tips
- Make a Double Batch: Brownies store well, so bake extra and freeze for later.
- Pre-Cut for Convenience: Slice brownies into portions before storing to make snacking easier.
- Pre-Mix Dry Ingredients: Combine flour, cocoa powder, and salt ahead of time for a quick mix-and-bake process.
9. Dietary Adjustments
- Gluten-Free Option: Swap all-purpose flour with a 1:1 gluten-free flour blend.
- Dairy-Free Option: Use dairy-free butter and chocolate alternatives.
- Low-Sugar Option: Reduce sugar slightly or use a sugar substitute like coconut sugar.
10. Why This Recipe Works
- Foolproof & Easy: One-bowl recipe with simple ingredients.
- Rich & Fudgy: The perfect balance between dense and soft.
- Versatile & Customizable: Adapt it to suit any preference with mix-ins and toppings.
- A Crowd Favorite: Loved by kids and adults alike, perfect for any occasion.


